Category: Crafts
-
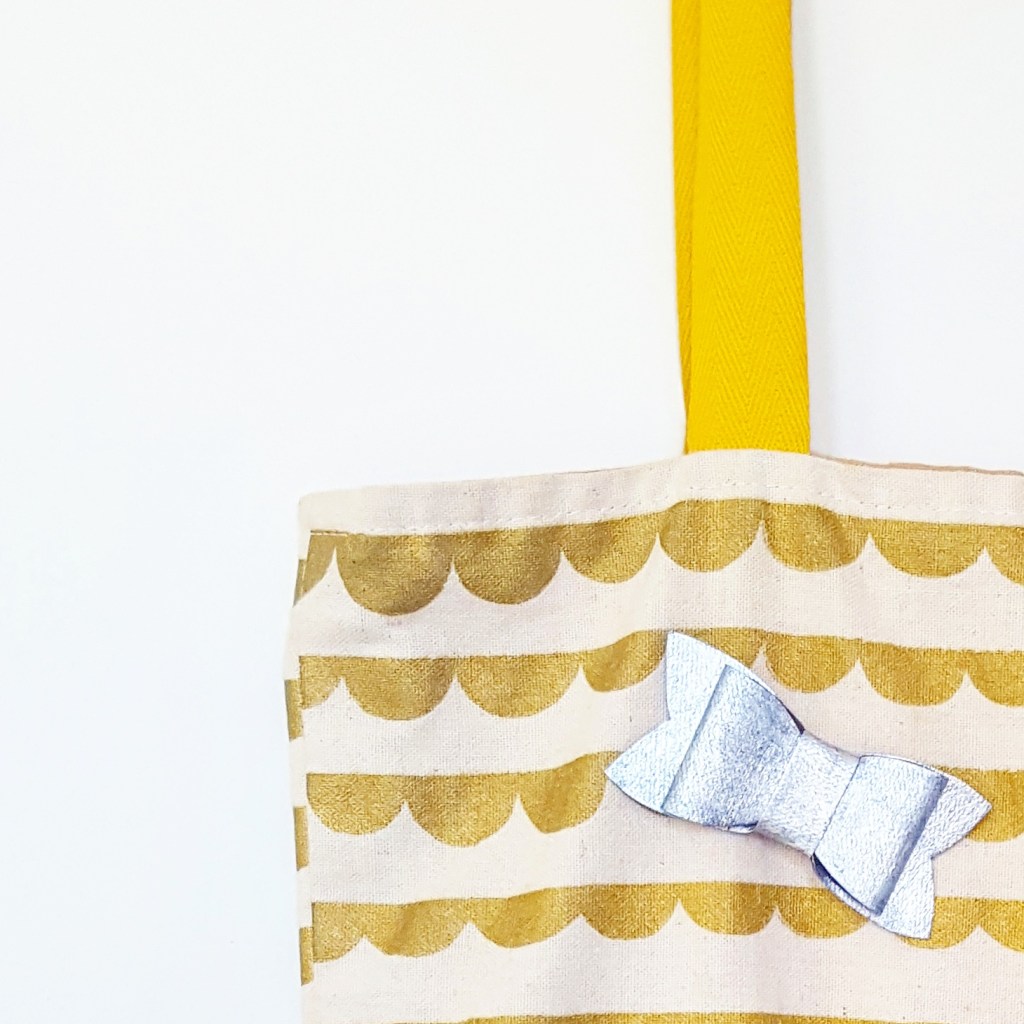
Kraft-tex paper leather bow pins
Deciding if I want to make a wee tutorial on how to make these wee little bow pins! Bow Pin on Etsy by makeMonster
-
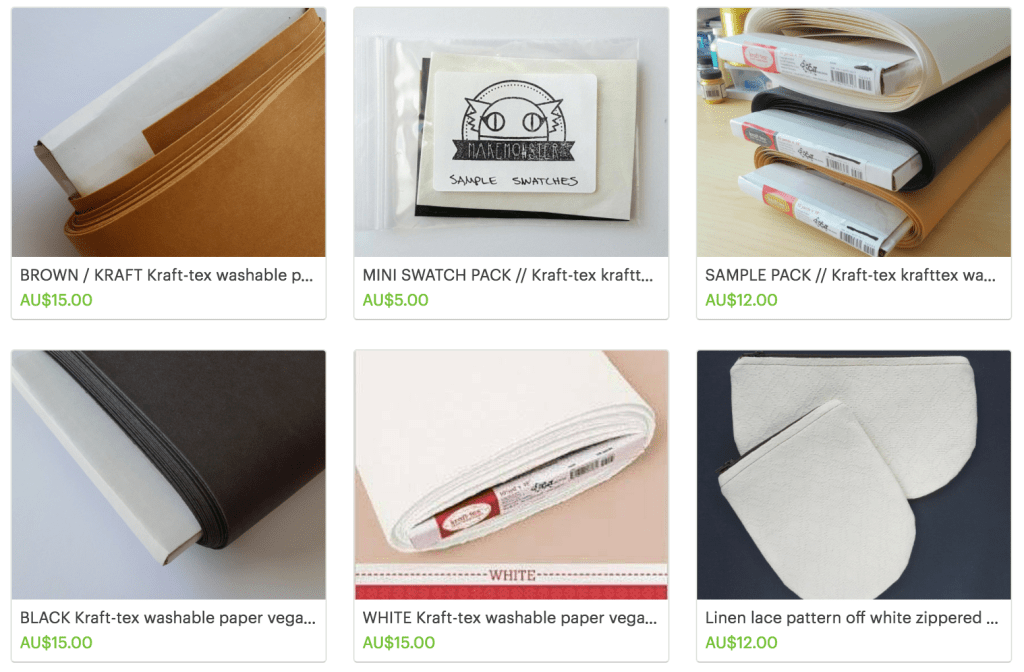
Kraft-Tex (Krafttex) Washable Paper Leather Tips & Tricks
Tips and tricks when using Kraft-tex washable paper vegan leather
-

Testing Kraft-Tex with Waterproof Ink & Stamping, DIY Sew-In Labels (Kraft-Tex Testing V2)
So I left off last time with just treating the Kraft-Tex (washing, mooshing, and then letting dry), with the intention on testing out how well it takes paint. I’ve decided to make a few ‘leather like’ labels to put into handbags or other things. I figured it would take the…
-
Craft Room Organizing and Stash Show and Tell
I haven’t really been much lately for doing things around the house… My excuse is that I’ve been in and out of the house since March, half living up on Ballina and other jobs. I got it in my head to at the very least unpack all my craft stuff…
-
What is Kraft-Tex Paper ‘Leather’ and how to treat it
I won’t lie, this stuff tripped me out when I first saw it. I was walking through Byron and little shop had these massive leather tote bags in all sorts of metallic colours. The shop owner saw me touching them (because I’m like a 4 year old and have to…
