You can do that?
Yes of course! This is how I used to make all of my labels. I still do to some extent but I’ve gone into fabric / screen printing and mainly use the paper leather labels for sew-on. But here I’ll walk you through the process of making the labels, which is super short because it’s really easy. Below are some examples:
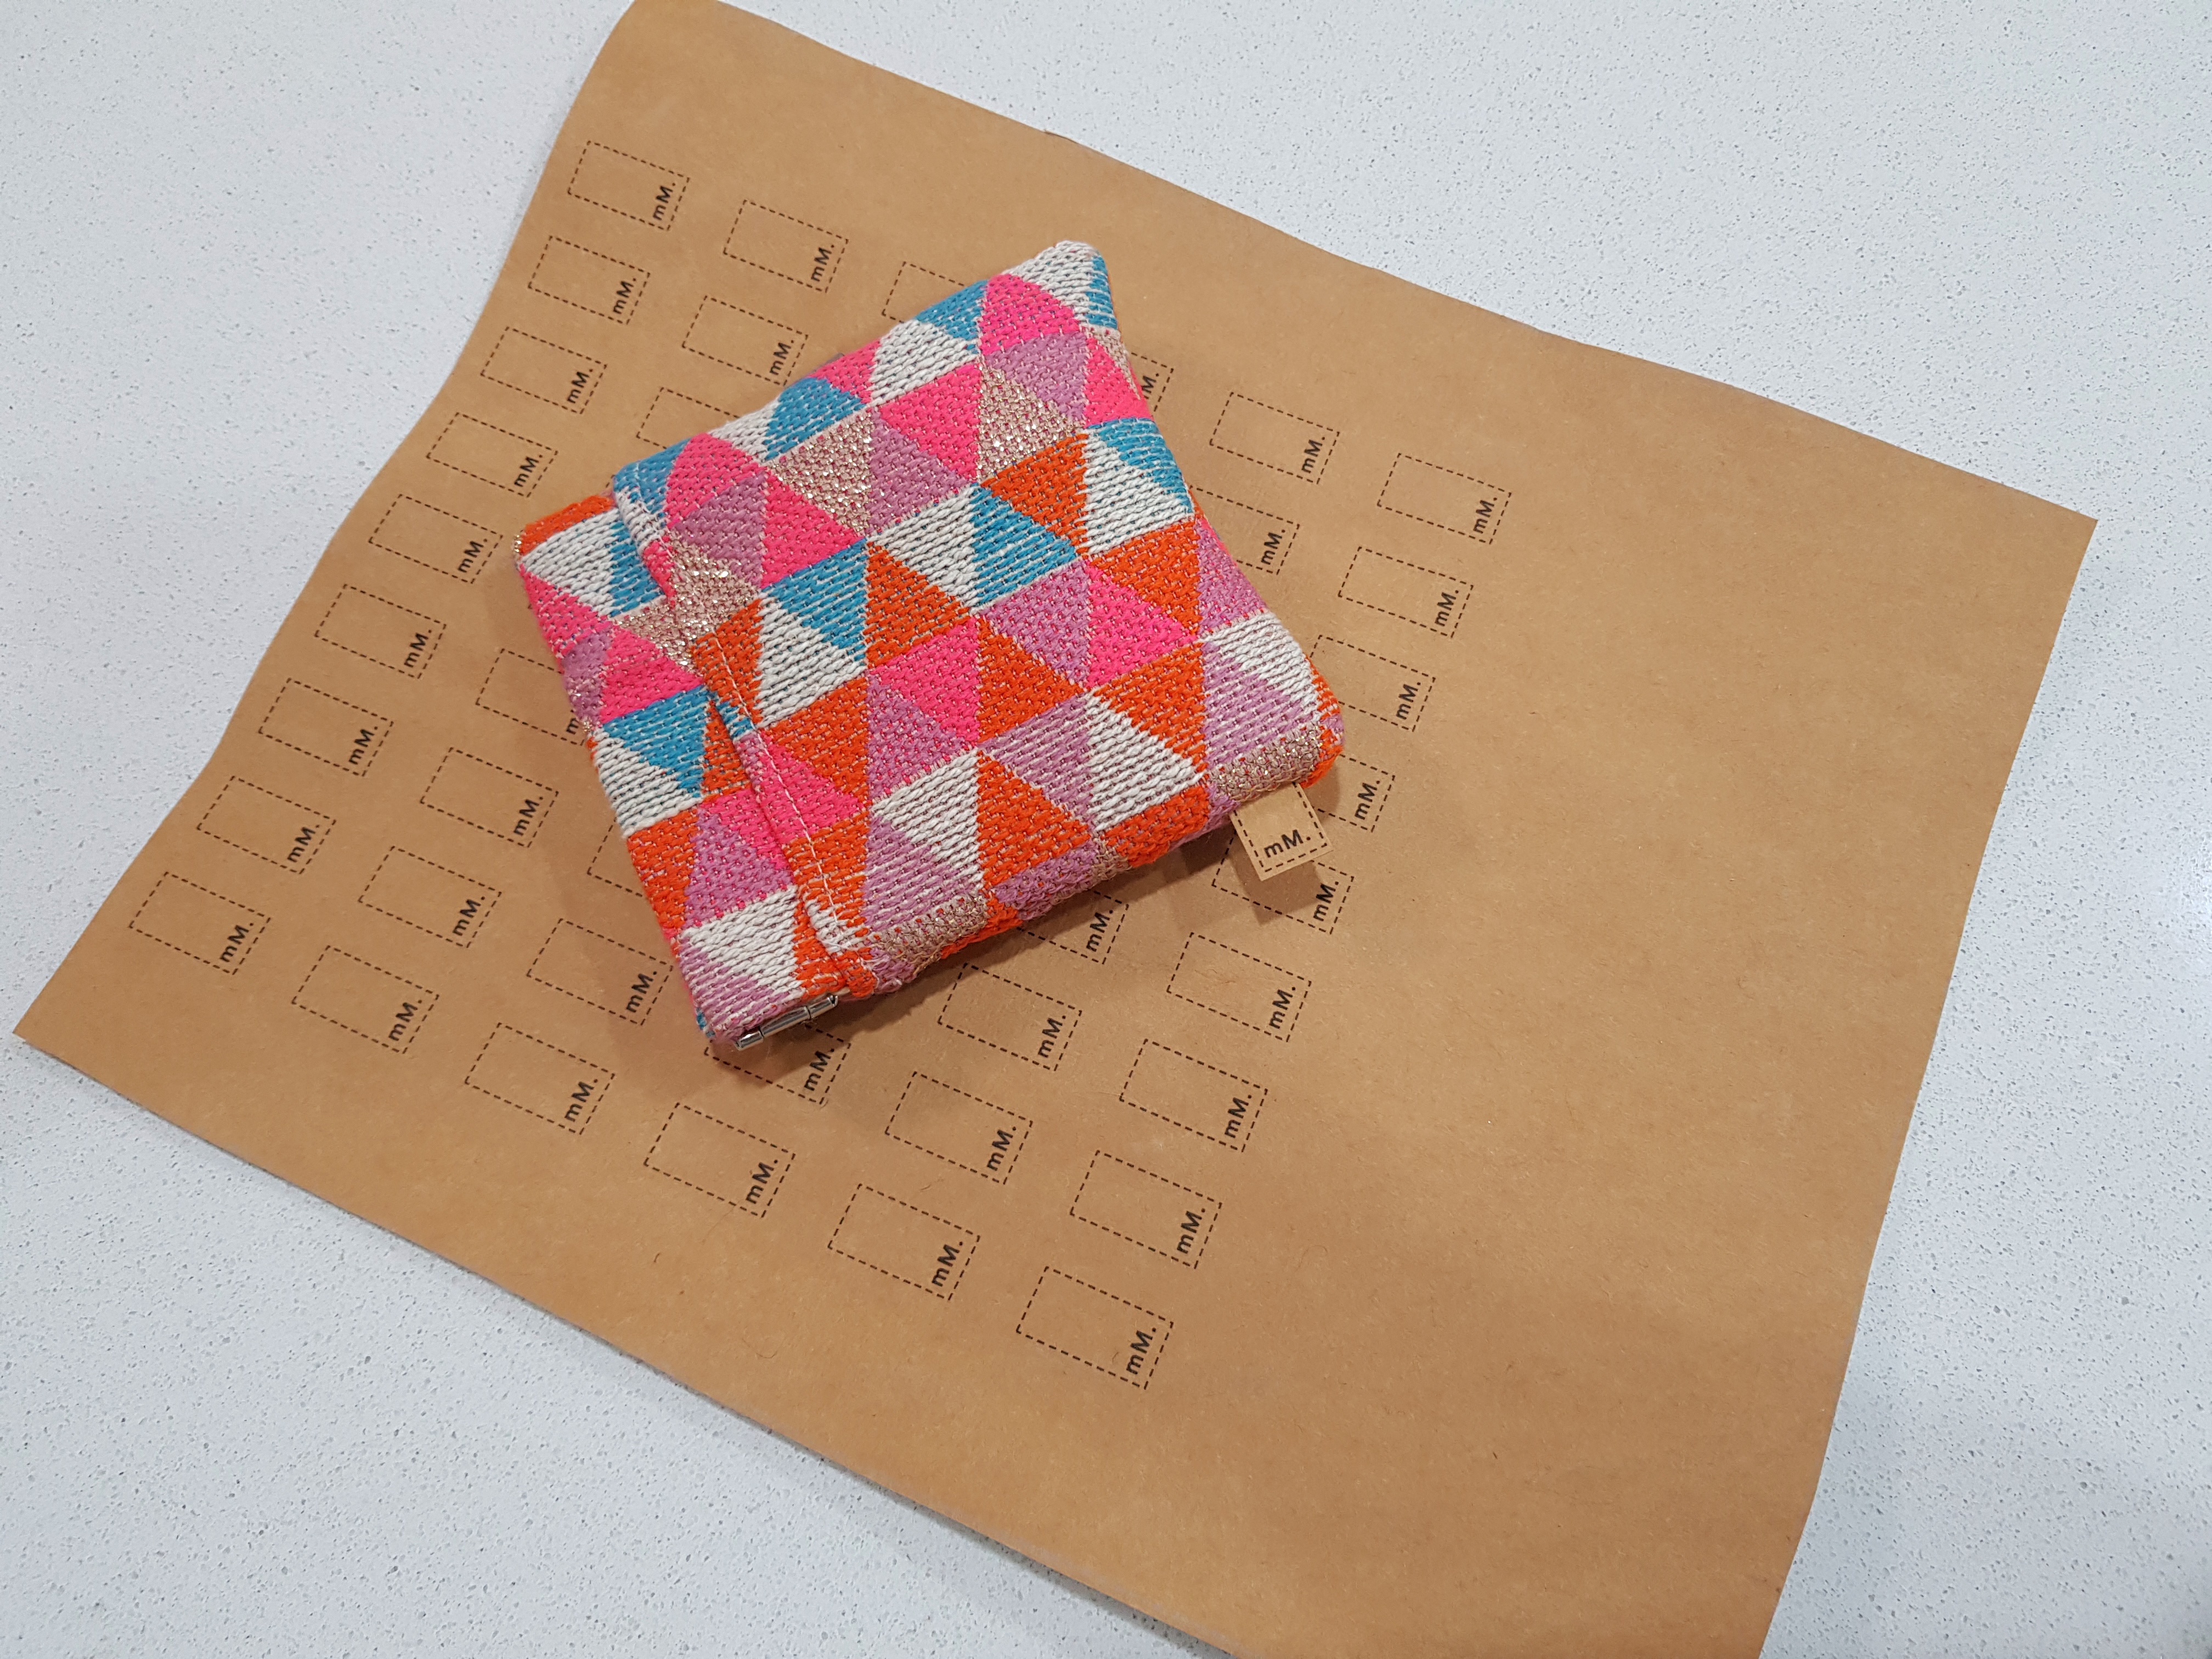


- Top left: A4 sheet showing the printed labels for sew-in.
- Top middle: Another examples of sew-in labels with a different style.
- Top right: And yet another example of sew-in labels with a different logo style (can you tell I change a lot?)
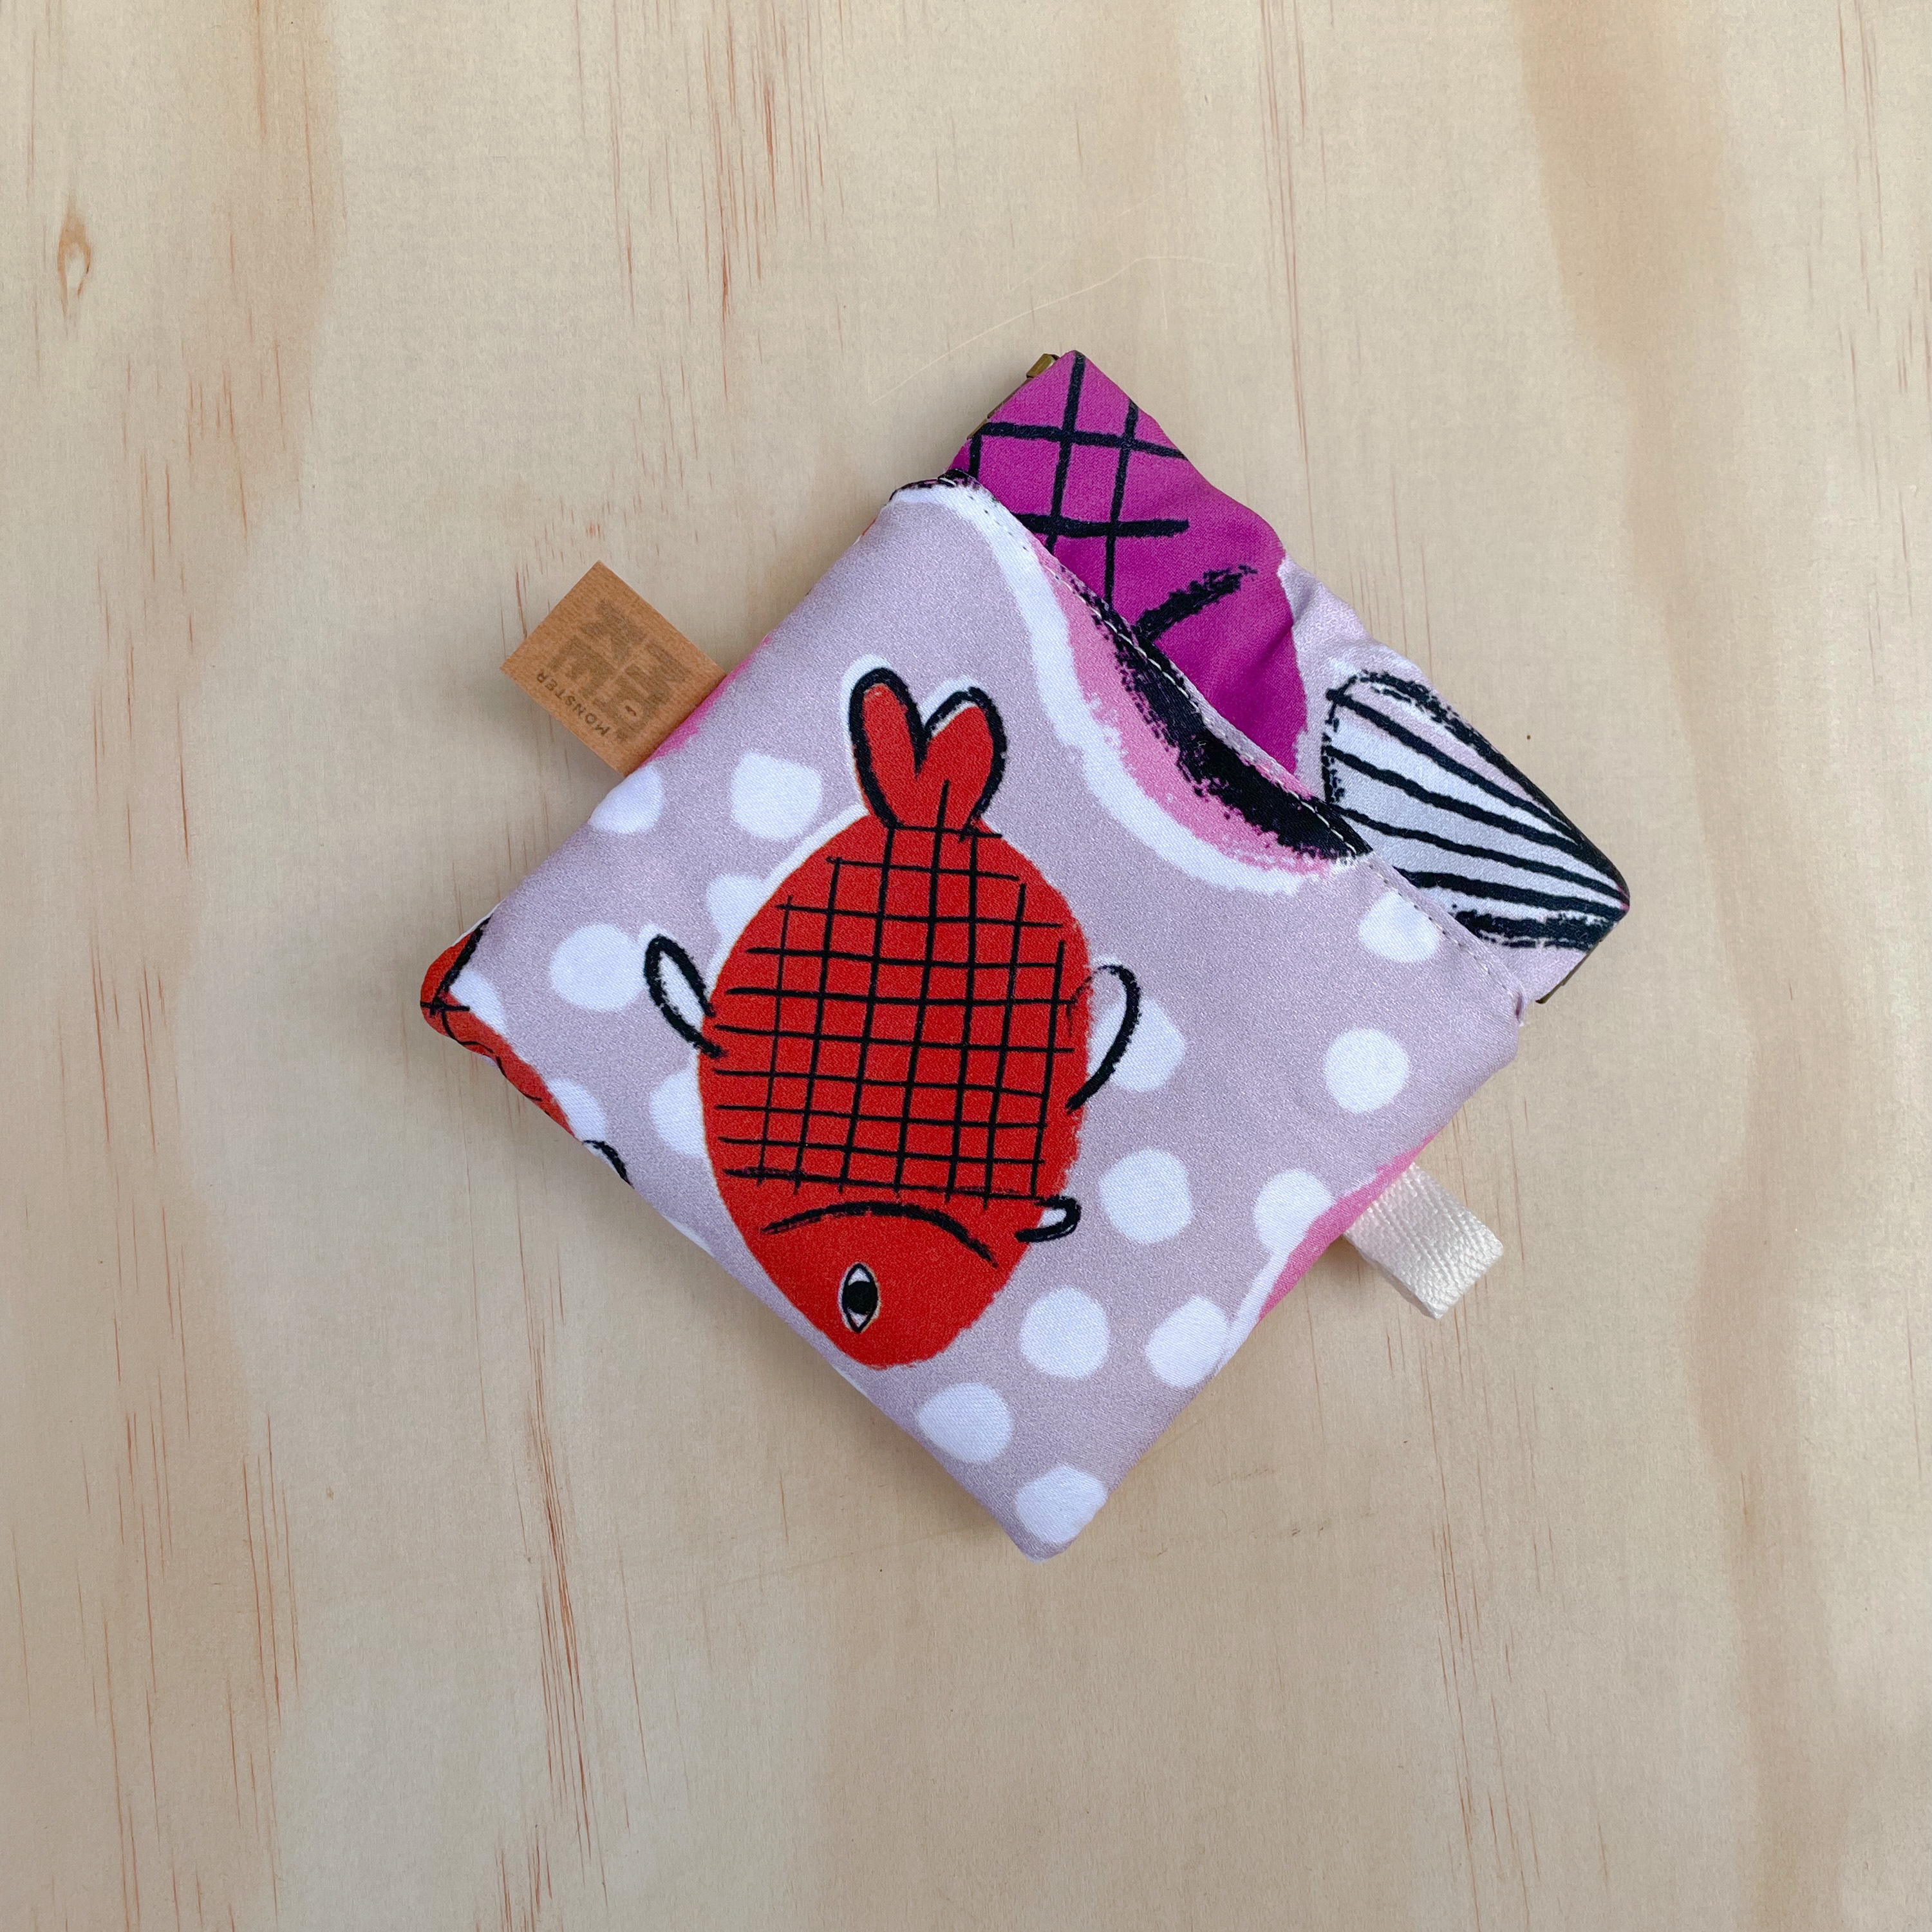
- Bottom left: The labels from the top left photo sewn in.
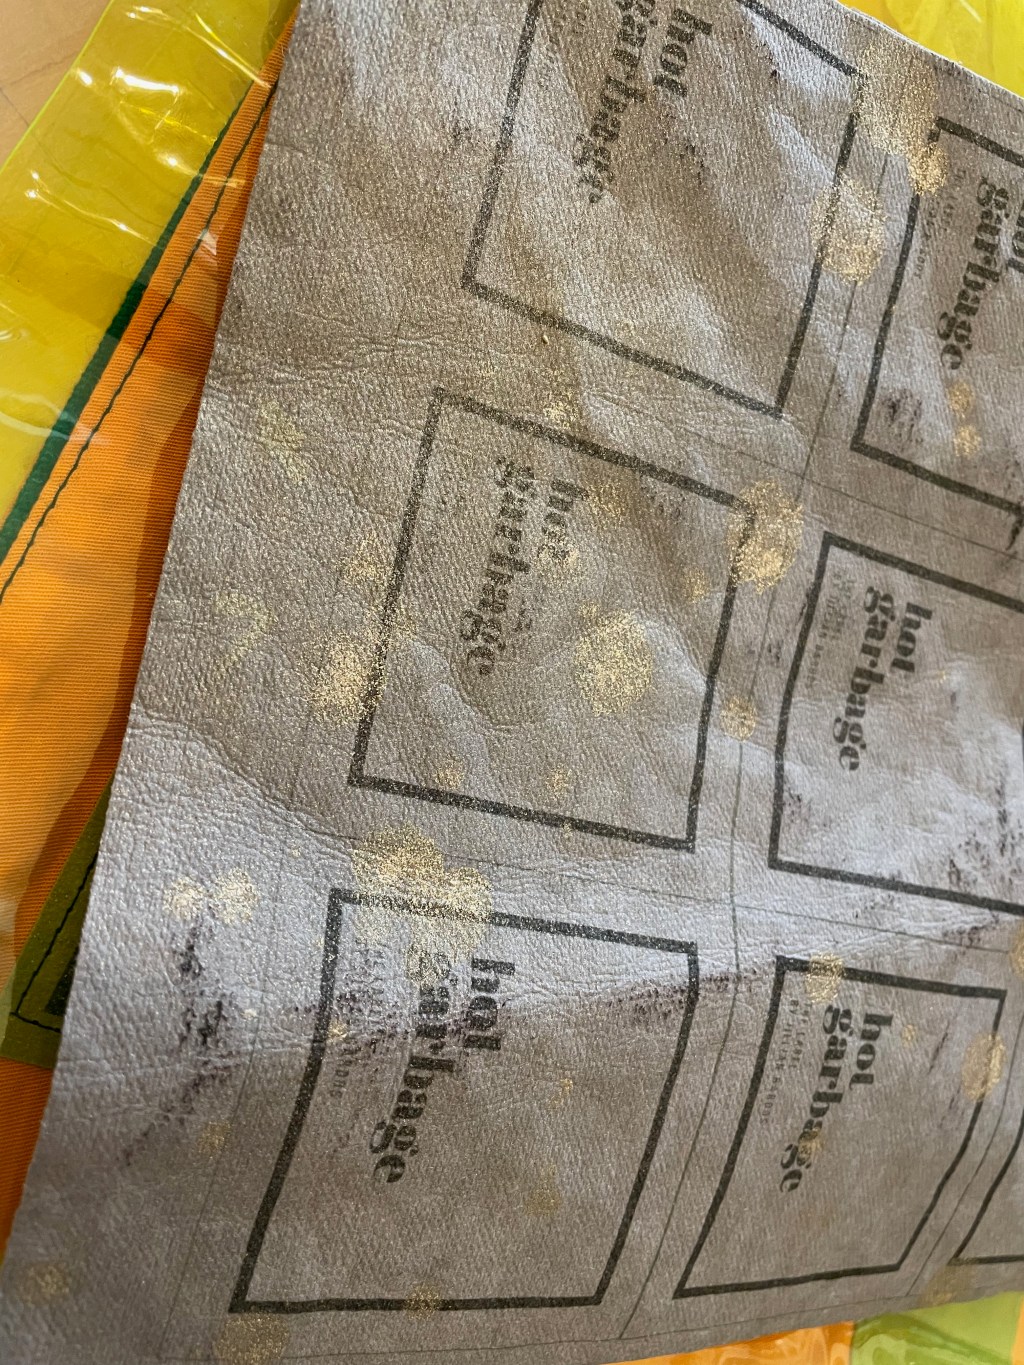
- Bottom middle: A larger different type of sew-on label, but with these I treated with some additional ink and paint to truly reflect the idea of the “hot garbage” branding” in which everything was hot garbage (more on that maybe sometime never)
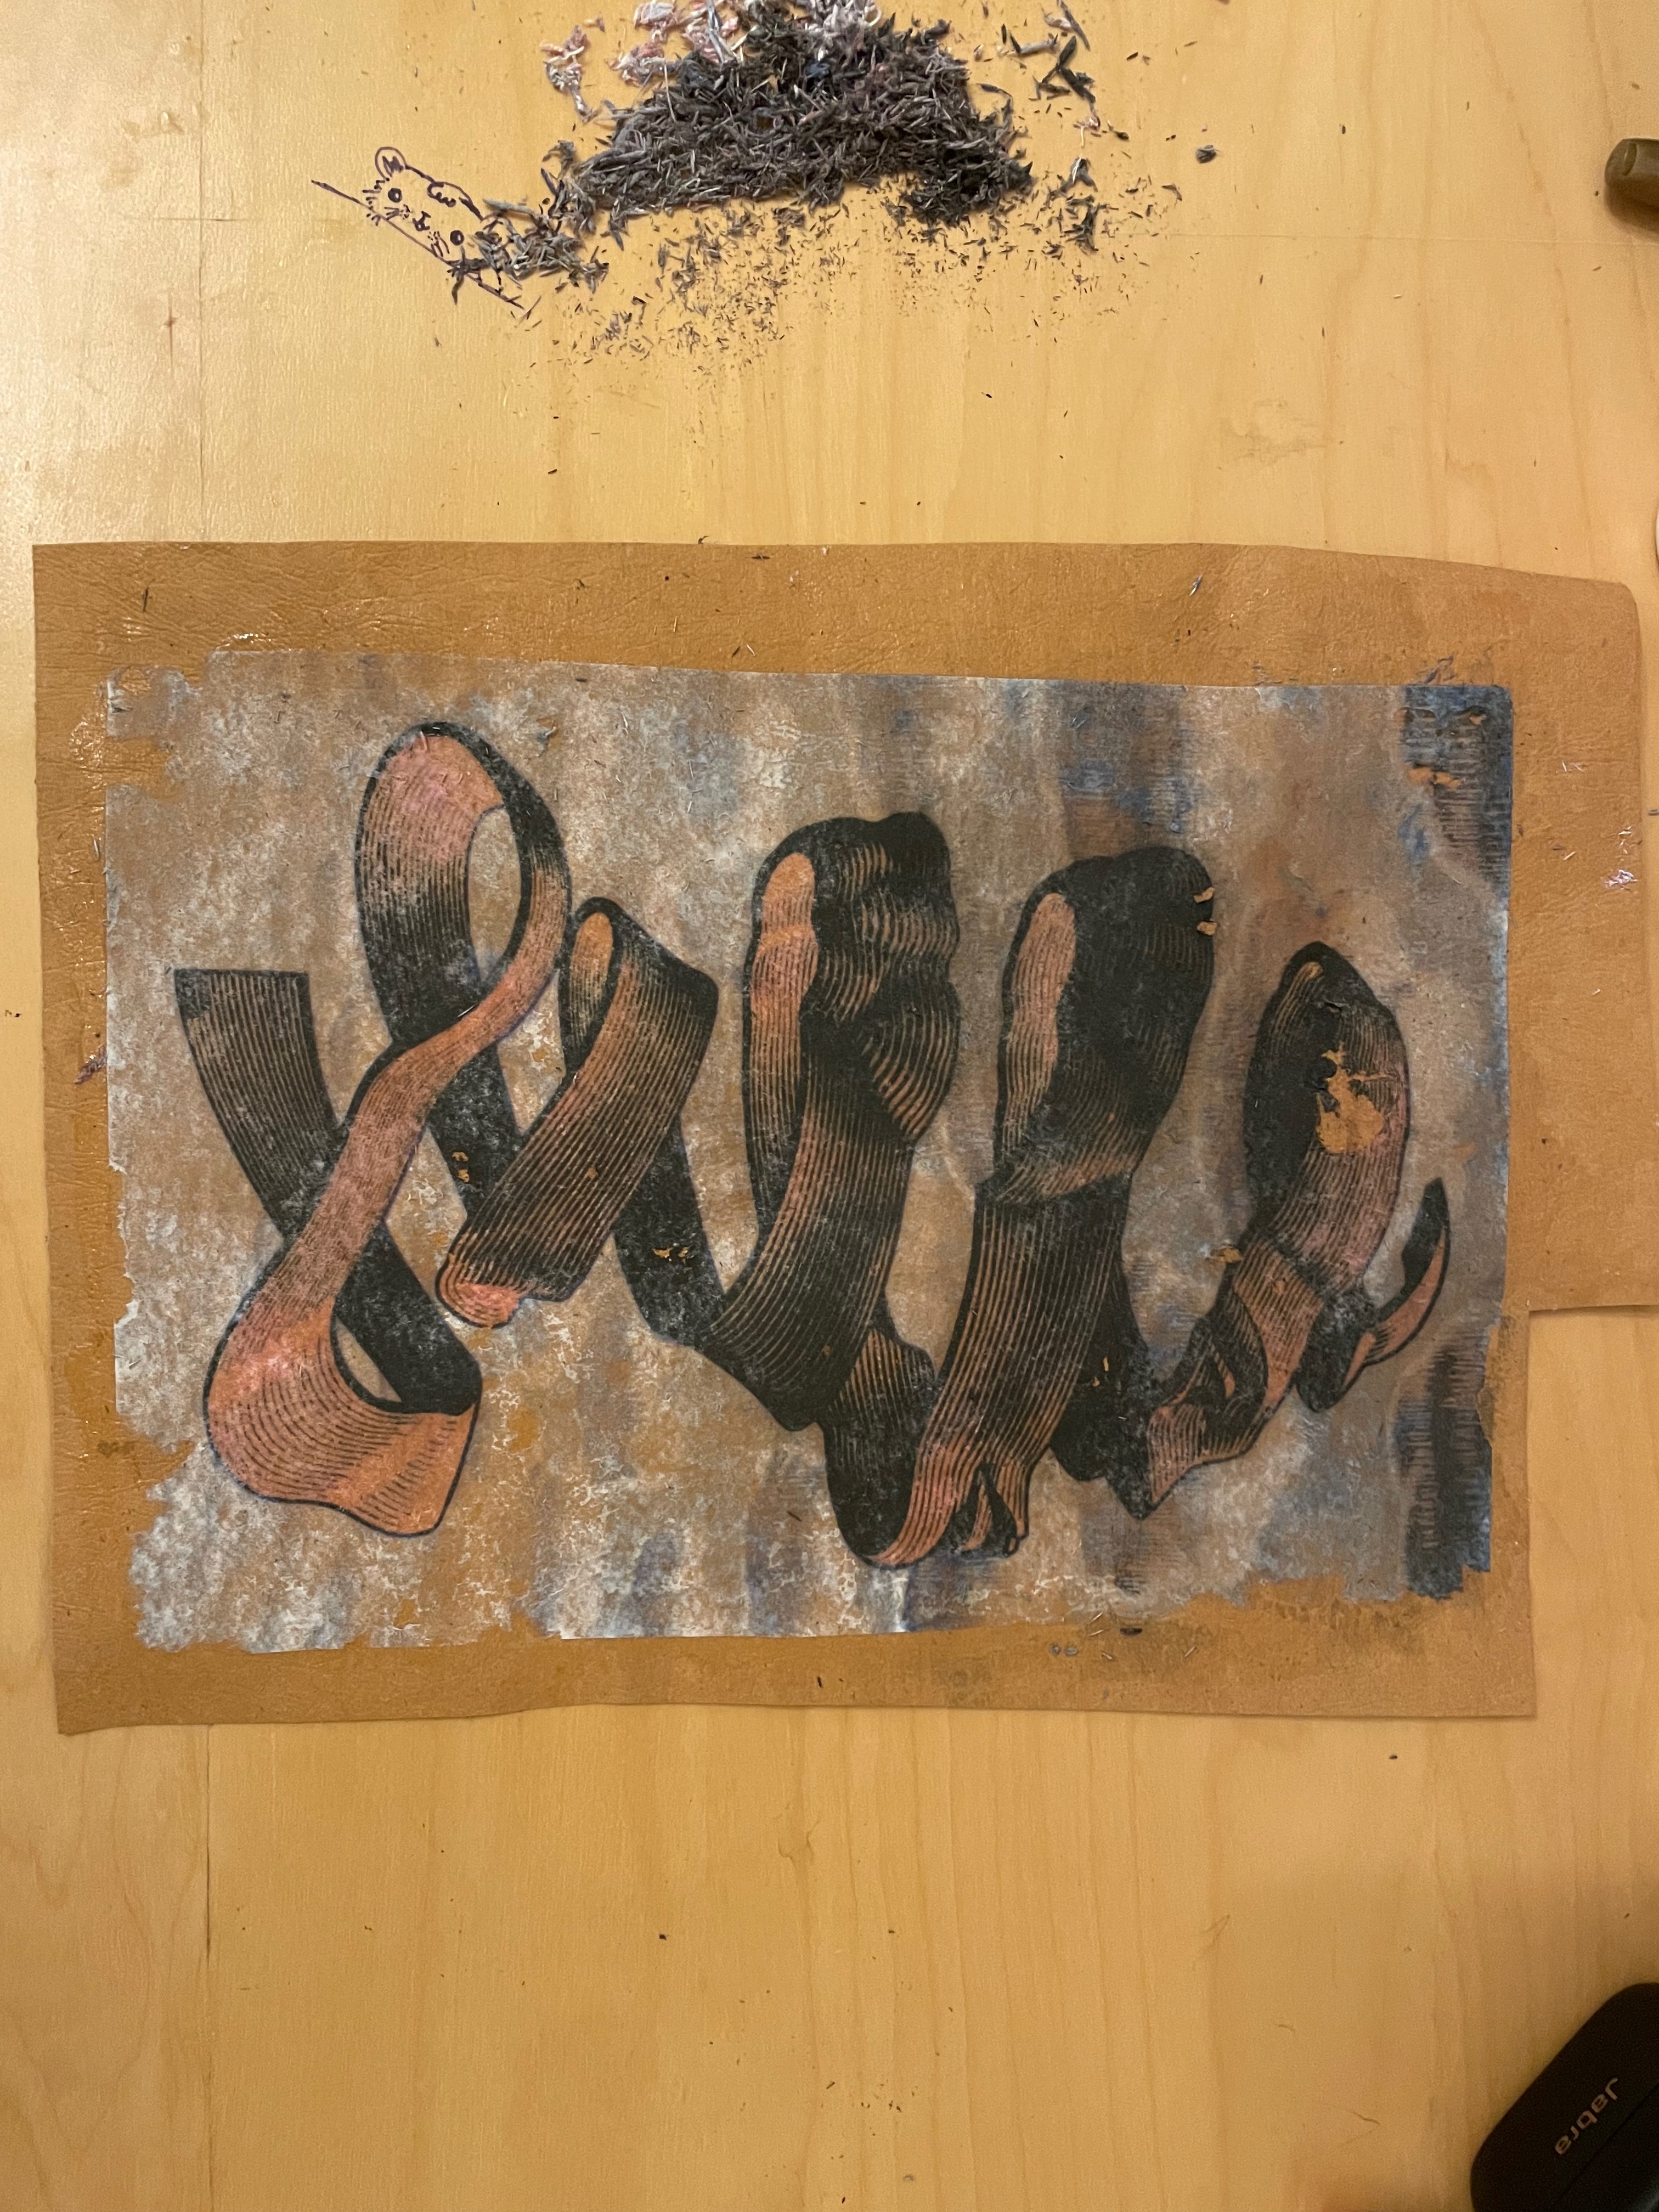
- Bottom right: The labels sewn onto a bag that never got released (it’s shown under some yellow vinyl so I could see how it looks)
What do I need?
- Ink jet printer (the whole point of this)
- Kraft-tex paper leather (I may know someone who sells this in convenient A4 sizes)
- Sealant (this is what I use, but you can go for glossy)
Optional items:
- Acrylic paints
- Ink
- Permanent markers
You can see my other post about using paint and ink on Kraft-tex.
How do I do it?
There are two methods, both will have a bit of trial and error.
- The “washed” method.
- For this method, you’re going to want to treat / wash your Kraft-tex so it has a bit more of a softer / leather texture. See my other post about how to prep Kraft-text in this method.
- After it’s washed and right before the material is fully dry, you’re going to want to iron it as flat as possible. This makes it easier to get picked up by the printer.
- Check the paper and retrim if required to be A4 or as close as possible.
- Once the paper is treated, ironed and fully dry, you’re ready to print!
- The “unwashed” method.
- Skip all the steps above and just go straight to checking that it’s around A4 size and trimming where required.
Printing for both methods.
- Proof your prints on regular paper first to check that you’re happy with the print, margins, etc. I like to use very faint grey guidelines on my labels to show where I need to cut.
- Load the Kraft-tex sheet into the paper holder BY ITSELF. Unfortunately you have to do this sheet by sheet, so it’s not very good with volume printing.
- Print your document– the print setting will be up to you. I generally just stick with normal print quality, because one of the “charms” of the material is that it looks a bit like old leather. Some common issues:
- “My printer won’t grab the sheet!” I’ve found this happens a lot with printers that have a bottom “roll up” style feed tray. Try using print setting for thick card stock, as well as you may have to nudge the paper a little bit to get the printer to grab it initially. Once it goes through it should be fine to keep going. I find that “washed” Kraft-tex is a bit easier to go through the printer! Even crinkling the Kraft-tex just a little bit if it’s unwashed helps it go through the printer.
- “Everything is super smudged!” This may be a printer issue (clean the printer heads– see your printer’s manual) or the paper isn’t ironed enough flat if you are doing the washed method. If this is the case make sure the paper is as flat as possible!
- So you should have a pretty cool looking set of labels now! Let the sheet dry for a couple hours if possible so everything is as permanent as it can be.
- Add on paints / inks / sketching / whathaveyou at this stage. Let dry according to the paint / ink instructions.
- The Final Step (yay) is to add a couple coats of sealer. The brand I use is linked above, but any sealant other than ModPodge should work. I find MP quite sticky and not robust enough for my uses (bag tags). Coat the labels 2x with the sealant, letting dry in between each coat according to the instructions.
Now you’re ready to use your new labels!

Next up:
Different image transfer techniques– do they work?? Stay tuned.


Leave a comment