Tag: DIY
-
Ink Jet Printing on Kraft-tex for labels
You can do that? Yes of course! This is how I used to make all of my labels. I still do to some extent but I’ve gone into fabric / screen printing and mainly use the paper leather labels for sew-on. But here I’ll walk you through the process of…
-
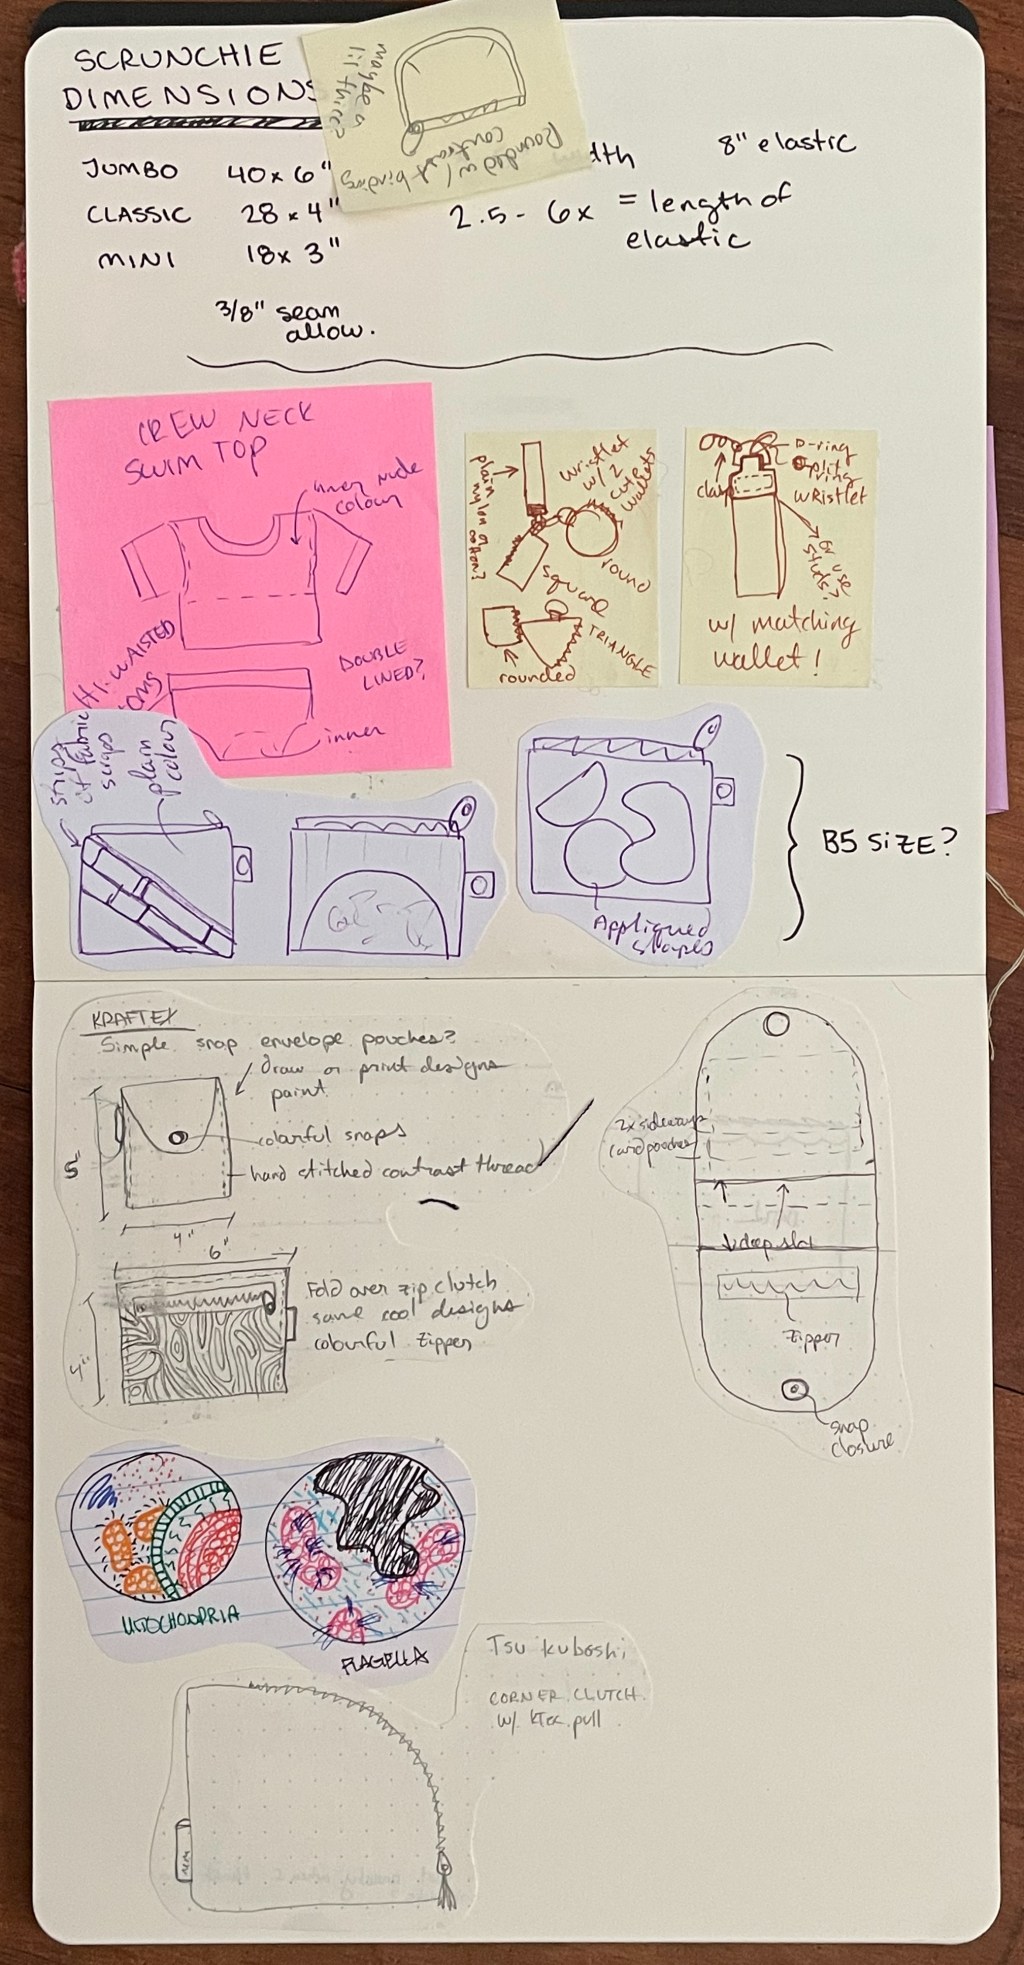
Sketchbook updates and book elastic with pen holder draft pattern
2022/2023 was the washed out years of changing careers, teaching myself how to make clothes, and making things for fun not “products”. It was great to chill out a bit and just work on things. I’ve made a few clothes that I actually wear in public, and had a go…
-
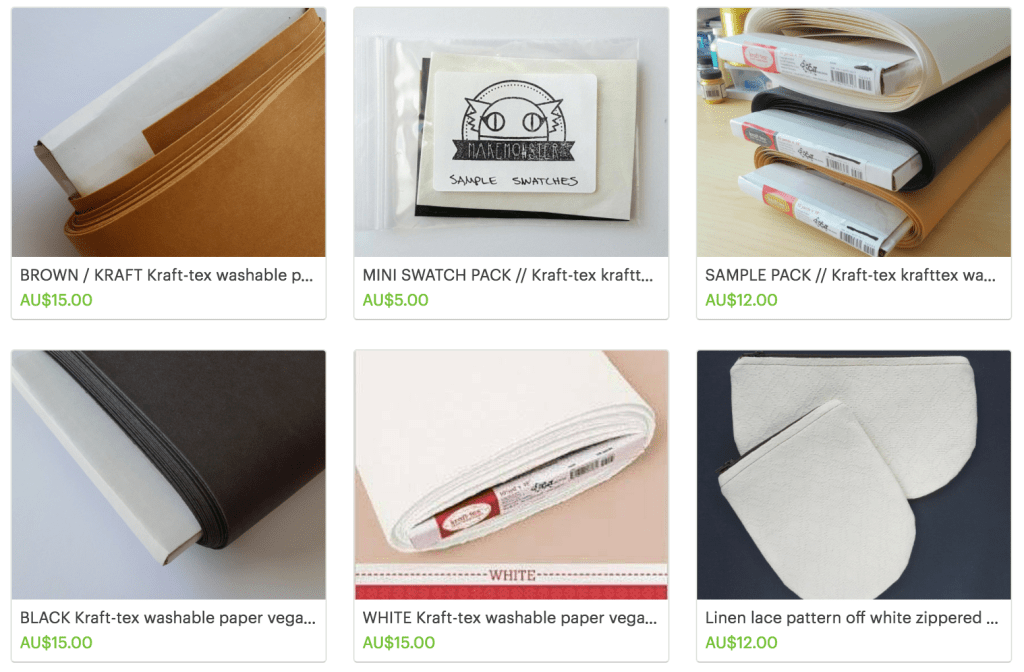
Kraft-Tex (Krafttex) Washable Paper Leather Tips & Tricks
Tips and tricks when using Kraft-tex washable paper vegan leather
-

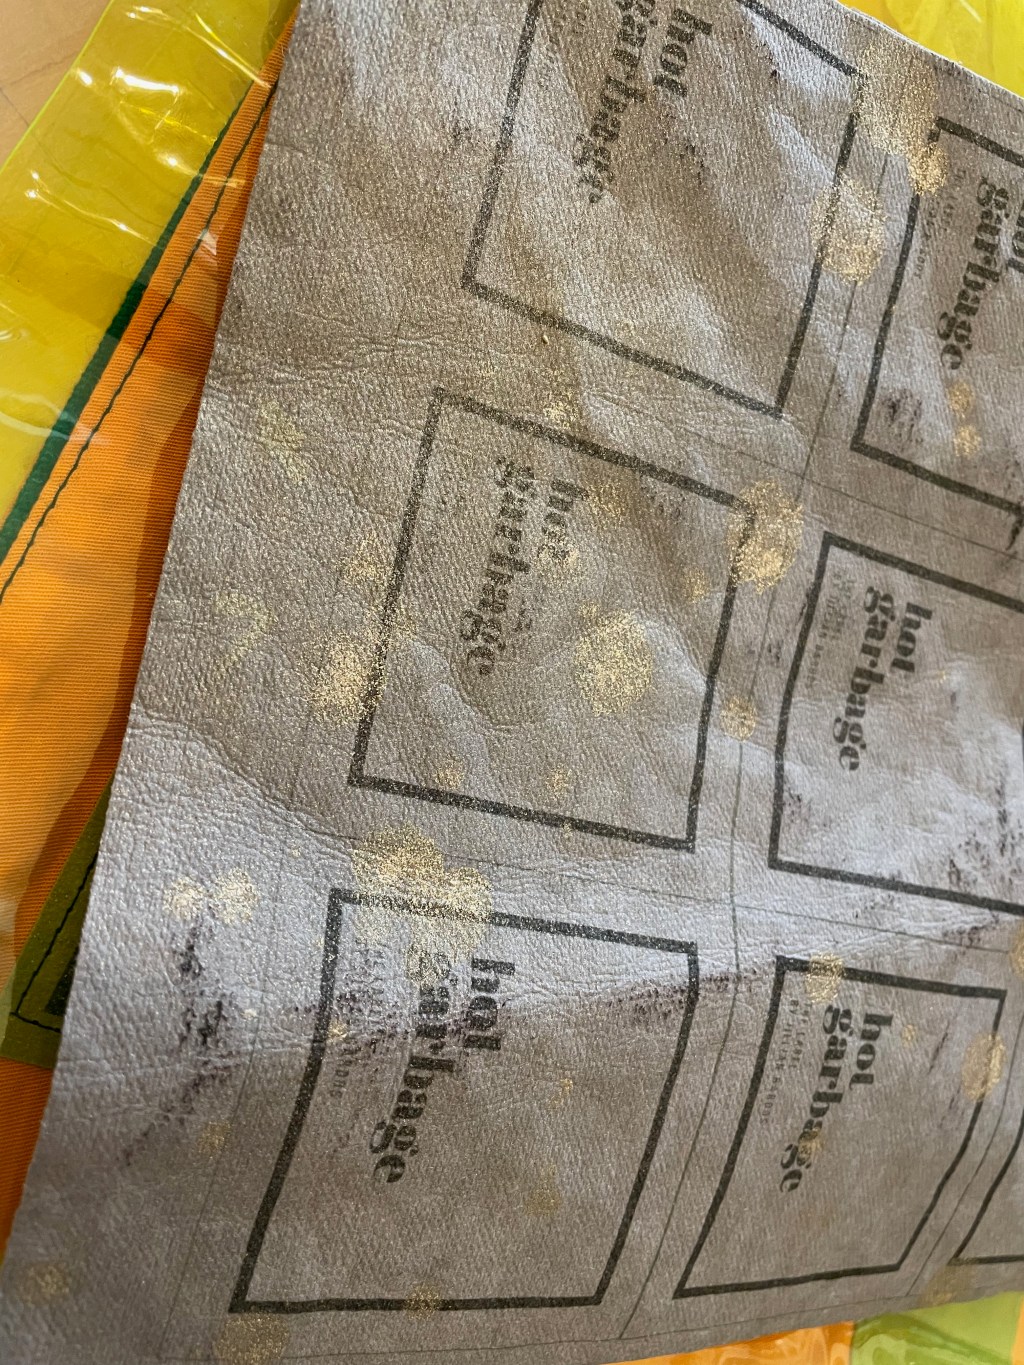
Testing Kraft-Tex with Waterproof Ink & Stamping, DIY Sew-In Labels (Kraft-Tex Testing V2)
So I left off last time with just treating the Kraft-Tex (washing, mooshing, and then letting dry), with the intention on testing out how well it takes paint. I’ve decided to make a few ‘leather like’ labels to put into handbags or other things. I figured it would take the…
-

Saturday Project: IKEA Moppe (or Fira / Mackis) Chest of Drawers Makeover
I think anyone who lives within a fifty mile radius of IKEA has one of these: The classic IKEA wee chest of drawers that’s had a few names over the years. I think I bought mine when they were called a Fira, but they were also sold under the guise…
